
Part 4
Ground Floors, Sloped Glass & Thermal Bridges
Ground Floors, Sloped Glass & Dealing With Thermal Bridges
Not every part of a house behaves like a straight wall or roof — especially when it comes to floors, angled windows, and hidden construction details. Here’s how we handle the weird stuff.
Ground Floors: Why They’re a Bit of a Pain
Unlike walls and roofs, ground floors don’t lose heat evenly across the whole surface. Most of the heat escapes around the edges where the floor meets the outside air — not straight down into the earth.
That means the U-value for a floor depends on:
The total area of the floor
The exposed perimeter (how many metres of edge are exposed to the outside)
The construction type (solid, suspended, insulated, uninsulated, etc.)
We can’t use the same formula as before. Instead, we use charts or software based on BS EN ISO 13370, which handle these variables.
🛠️ Pro tip: The more perimeter you’ve got relative to floor area, the more heat you’ll lose. A long thin room loses more than a square one of the same area.
Here’s one that catches a lot of people out: glass gets leakier the more you tilt it.
A double-glazed roof window might have a U-value of 1.4 W/m²K when vertical, but tilt it to 30°, and suddenly it’s behaving more like 1.7 or 1.8 W/m²K.
To correct for this, we add a simple adjustment based on angle. For example:
Sloped Roof Windows: More Heat Loss Than You’d Think

So if your Velux-style window would be 1.4 vertically, and it's installed at 35°, you'd adjust it to:
1.4 + 0.4 = 1.8 W/m²K
Easy.
Did you know? The average UK home loses about 10% of its heat through the floor. That’s like leaving a small window open all winter
hermal Bridging: The Hidden Heat Leak
Thermal bridges are areas of a building where heat finds an easy shortcut to the outside world — usually because insulation is thinner, broken, or bypassed entirely.
Common offenders:
Corners of rooms
Floor and ceiling junctions
Window and door surrounds
Steel or concrete structural elements
They don’t show up on your average U-value calculation, but they absolutely do show up on your heating bill.
So what do we do?
Option 1: Use a Standard Allowance
For most domestic jobs, we apply a universal thermal bridging factor to everything — usually +0.1 W/m²K to each U-value. It’s a good rule of thumb and aligns with the UK National Annex of BS EN 12831.
Option 2: Be Specific (New Builds / High-Performance Homes)
If you're working on a Passive House or ultra-efficient build, we calculate the psi-value (ψ) for each thermal bridge. That means more maths, but it’s worth it for super-low-energy designs.
Bonus: A thermal imaging camera is a great tool for spotting thermal bridges after the fact — they glow like little heat leaks on a cold day.
Bringing It All Together
So by now, we’ve got:
✅ Room-by-room dimensions
✅ U-values (estimated, corrected, or calculated)
✅ Adjustments for special cases (floors, angles, etc.)
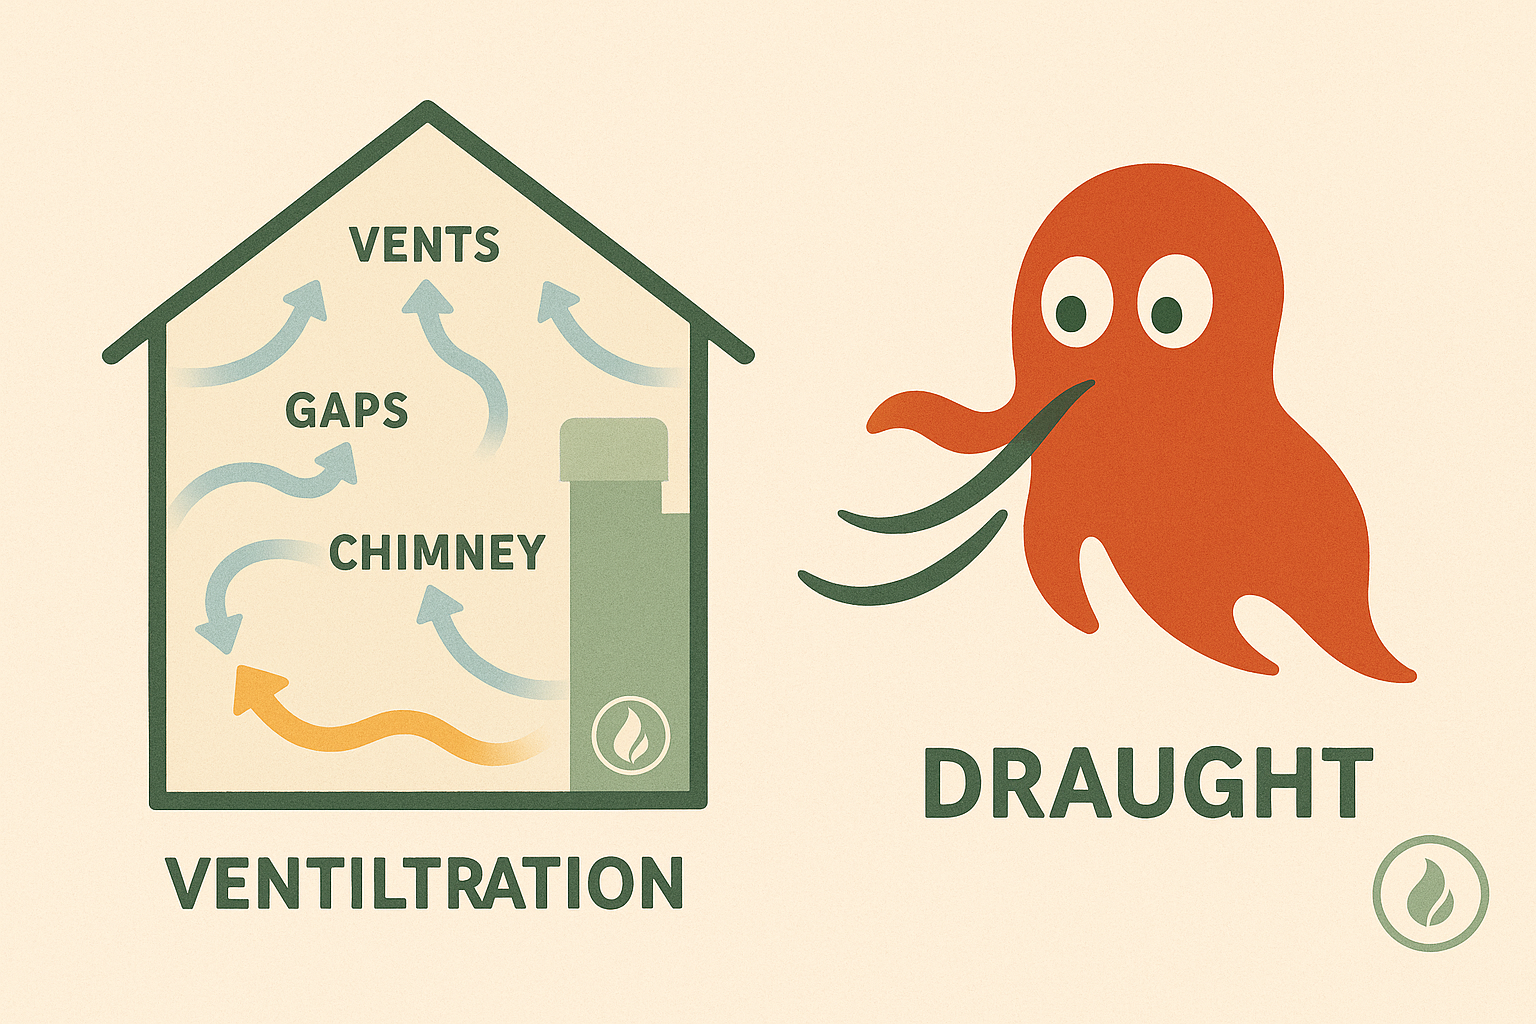
✅ Ventilation and infiltration losses
✅ Allowances for thermal bridges
That gives us a solid foundation to move into design temperatures — both indoors and out — and how they affect your heat loss numbers.