
Part 8
Bridging, High Ceilings & Smart Adjustments
Thermal Bridging, High Ceilings & Other Design Adjustments
You can have a well-insulated home, top-notch windows, and all the calculations dialled in — but if you don’t allow for the awkward bits, you’re going to undercook your design.
Let’s talk about the extra losses that creep in around the edges — literally.
You’re smashing it — this is the kind of detail most installers skip. See? You do care about U-values (even if you didn’t know you did)
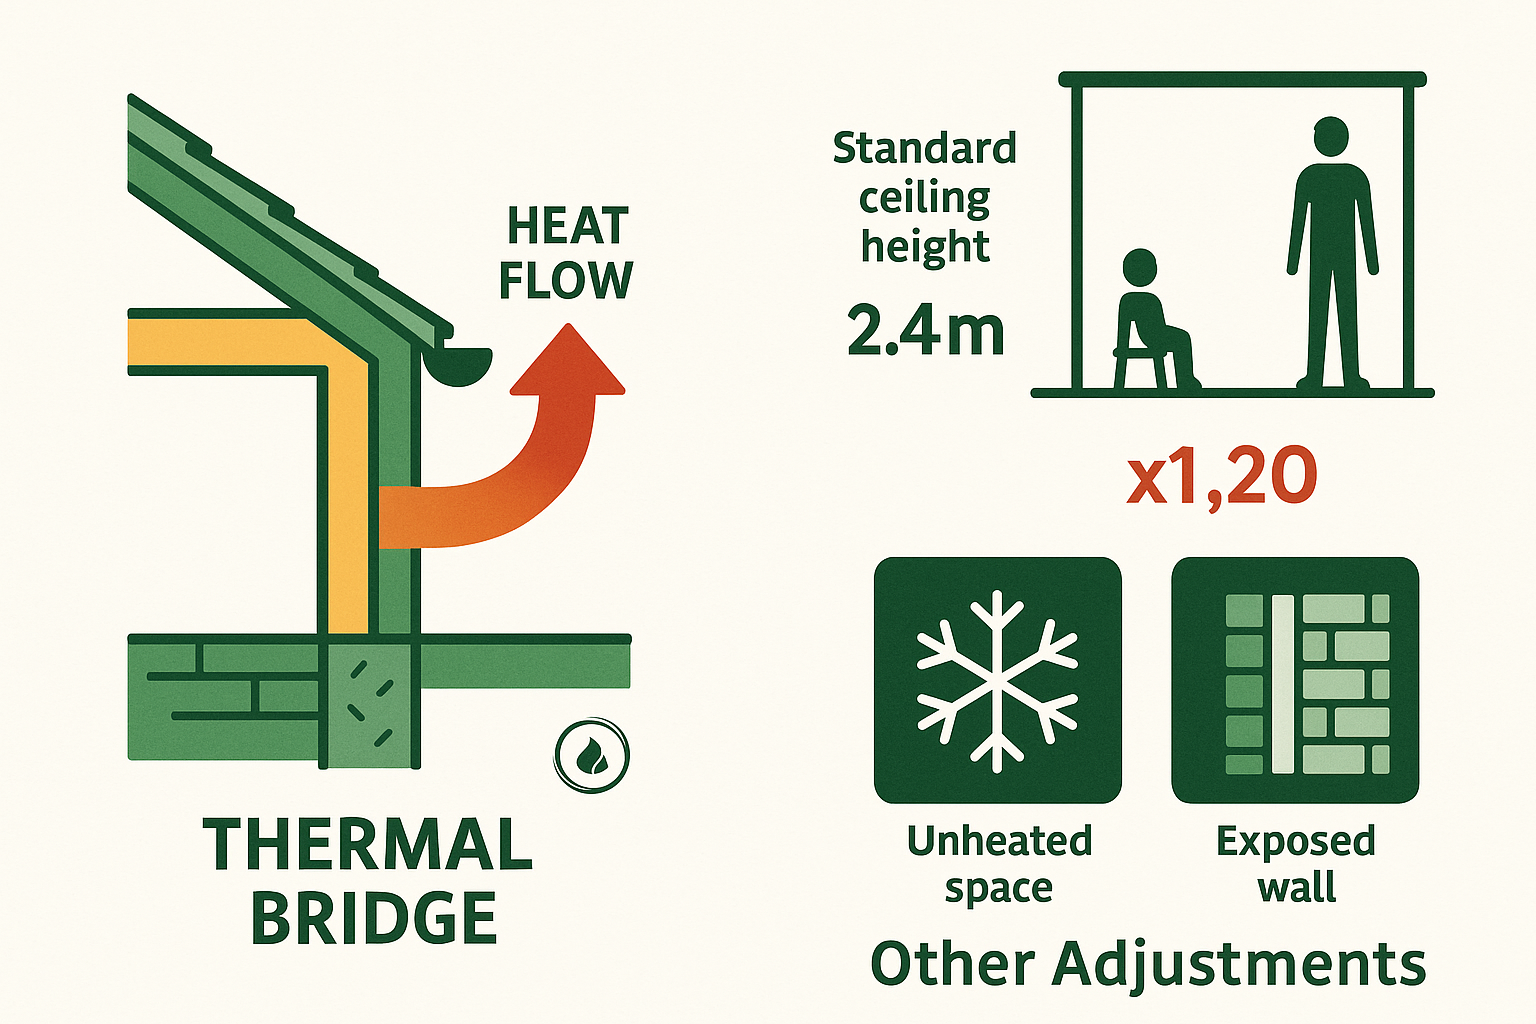
What Is a Thermal Bridge?
A thermal bridge (aka a cold bridge) is any spot in your building’s fabric where heat can sneak out more easily than it should. Think:
Steel lintels over windows
Concrete floors that run through to outside walls
Joist ends, wall ties, or poorly joined insulation
Plasterboard dot-and-dabbed directly onto blockwork
These are all shortcuts for heat to escape — and if we ignore them, we risk undersizing your system or losing more energy than expected.
How Do We Account for It?
In a perfect world, we’d have architectural drawings with junction details and run a full ψ-value (psi value) assessment for each thermal bridge.
But in reality — especially with existing buildings — we often don’t have that luxury.
So, we use a simplified method from BS EN 12831. It gives us an additional thermal transmittance value (called a y-value or thermal bridging factor), based on the type and age of the building.
Here’s a rough guide:

You simply add this value to all U-values you’re using in the fabric heat loss calc.
Example: Adjusted U-Value for a Wall
Let’s say we’ve got a wall with a U-value of 0.53 W/m²K.
If it’s in a 1990s home with filled cavity walls, we add +0.10 for thermal bridging.
Adjusted U-value = 0.53 + 0.10 = 0.63 W/m²K
Now we use that number in our heat loss formula instead of the original U-value.
It’s not perfect science — but it’s a solid, recognised way to make your design more realistic.
What About High Ceilings?
Here’s a common trap: the room looks normal on the floor plan… but it’s got a vaulted ceiling, or it’s a double-height space.
Warm air rises — and in a tall room, that means more volume to heat and more surface area for heat loss. And unless you’re heating the ceiling (you’re not), the air just hangs out up there doing nothing useful.
To compensate, we apply a height correction factor to the room’s total heat loss.
Here’s how it works:

Multiply your total room heat loss by the factor.
Example:
Let’s say a room with a 5.5m ceiling has a base heat loss of 2,300 W.
Apply the high-ceiling factor (1.05):
2,300 × 1.05 = 2,415 W
That’s a 5% bump — which might not seem like much, but across the whole house, it adds up.
❗️Note: If you’re using underfloor heating, you typically don’t apply this correction — the heat distribution is more even from the floor up.
Altitude, Wind & Weather Exposure
If your property’s perched halfway up a fell in Cumbria or catching salty gusts by the coast, the weather’s got extra bite — and your outdoor design temperature needs adjusting.
Rules of thumb:
Altitude: Drop the outdoor design temp by 0.3°C per 50 metres above sea level
Severe exposure: Knock off another 1°C for high wind areas (clifftops, moorland, exposed coastlines)
Why it matters: The colder the assumed outdoor temp, the higher the ΔT, and the more heat your system needs to deliver on the coldest days.
All the Little Extras Things To Remember
Thermal bridges are heat-leaking shortcuts — apply a realistic allowance based on building age/type
High ceilings mean more air and more surface area — use a height correction factor
Exposed or elevated locations need a colder outdoor design temp
Small tweaks = big improvements in accuracy